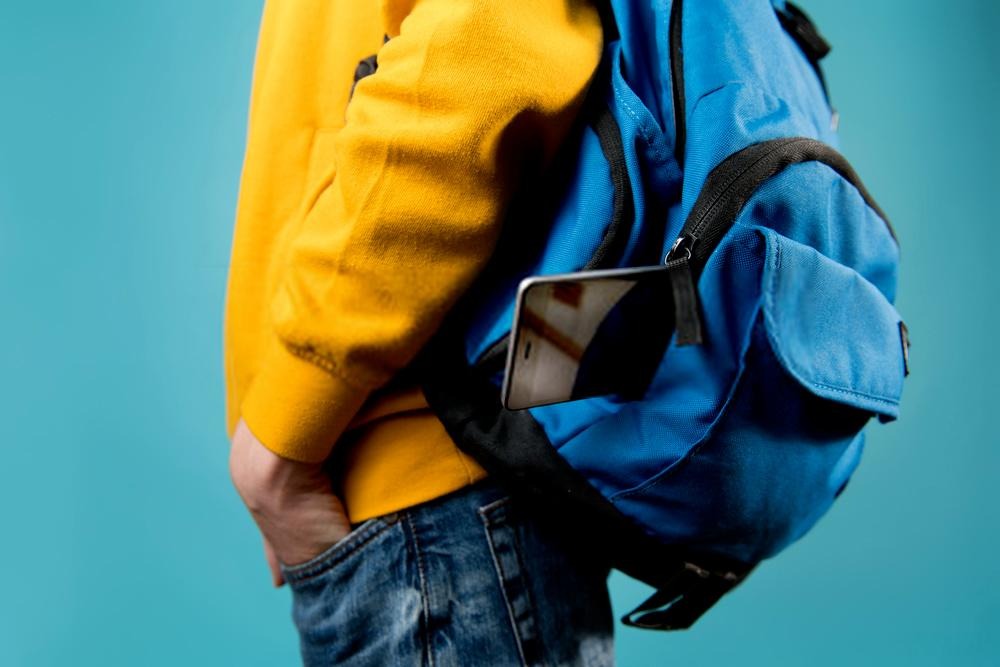
Before examining how to properly adjust a backpack from a practical standpoint, some assumptions must be made.
Our body’s natural centre of gravity is in the navel area. When we wear a backpack, especially if it is heavy, we shift our centre of gravity upwards and lose stability. When this occurs, we tend to lean forward to restore balance. So, the goal of a good adjustment is to return the weight to the hips and abdomen to avoid incorrect postures that can damage muscles and bone structure over time.

To put it bluntly, the correct weight adjustment should be 70 percent on the pelvis and 30 percent on the shoulders just to protect the back!
Having said that, you understand the importance of the lumbar belt’s role because it will be the part of the backpack in contact with the body that bears the most weight.
Another critical aspect is that the material inside the backpack be properly loaded. We must therefore distribute the weight symmetrically, with the greatest weight near the back in the medium-high part of the backpack. Once loaded, the compression straps must be used to help stabilise the backpack’s body.
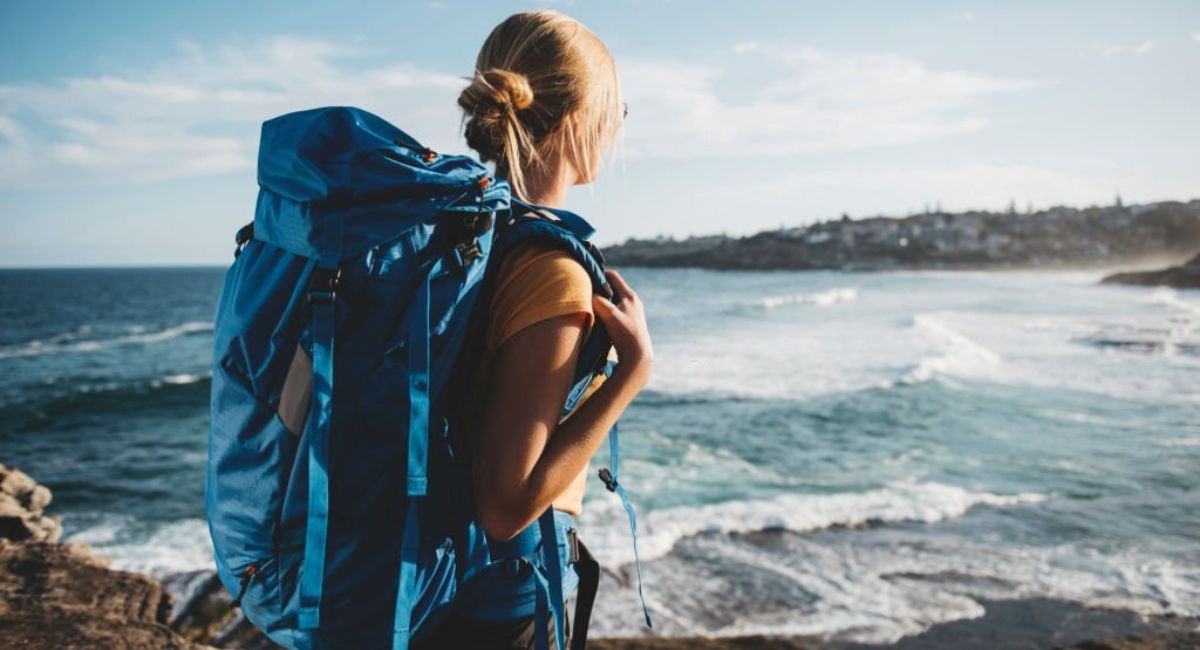
Proper Backpack Fit
Adjusting and wearing the best trekking backpack correctly is the foundation of being able to wear it for an entire day. A good adjustment results in the weight being moved on to the legs, which are much stronger than the back and shoulders. This is done via the hips and the lumbar belt, creating a low centre of gravity point that allows us to maintain our balance and move up any type of trail.
The goal of good balance is to achieve a correct distribution of the backpack’s weight, with 70% of the weight on the hips and 30% on the shoulders.
Improper Backpack Fit
A poorly adjusted backpack is almost always visible. A poorly adjusted backpack will have an excessive distance between the shoulder straps and our shoulders, as well as any imbalance in the load on our back. Furthermore, this type of environment will not only be more uncomfortable and tiring, as it will overload the shoulders, but it will also result in injuries in a short period of time.
How to measure the length of the backrest?
There are various types of backpacks and backrests, but the most popular are backpacks with adjustable backrests that allow us to adjust the length of the backrest. If, on the other hand, the backpack does not have this feature, the manufacturer will most likely have specified the different sizes of the backrests and the measurements to which they correspond in the backpack’s characteristics.
The distance between the Iliac Crest (or hip bone) and the C7 Vertebra is used to determine the size of the back (the one that “pops up” when we bend the neck forward). Follow these steps to determine the correct size of the backrest (the operation is much more comfortable if someone else takes the measurements).
- With our hands on our hips, we search for the hip bone and rest them on top of it. As a result, we’ll have to use our imagination to draw a line connecting our hands.
- Once the C7 has been identified (the one that “sticks” outwards by bending the neck slightly forward), we will draw a perpendicular line from the vertebra to the imaginary line of the hips.
- We will measure the line between the vertebrae and the hips; this will be the measurement of our back and will be used as a reference in the selection and adjustment of the backrest.
Every modern hiking backpack comes with a recommended backrest length. If yours is between sizes (small, medium, or large), don’t be too concerned. In fact, most backpacks have a shoulder harness that you can adjust to fit your needs.
Here’s how to find the right size for you:
- Extra Small: up to 40cm
- Small: between 41 and 45cm
- Medium: between 46 and 50cm
- Large: 51cm or more
When trying on backpacks in a store, make sure the shoulder harness is properly positioned for you. Keep them the way you found them after you’ve adjusted them.
How to properly adjust a backpack – Step by step guide
Wearing a backpack is an easy way to carry your belongings with you, but it’s important to do it properly. Here is a step-by-step guide to wearing a backpack. By following these simple steps, you can wear your backpack comfortably and safely.
Step 1 – Choose a good backpack
When choosing a backpack for a hike, there are several important factors to consider.
- First, it is important to choose a backpack that is the right size for your torso. This can be measured by having someone help you find the bone at the top of your spine and then measuring from this point to the point where your hip bones curve inward.
- Second, you will want to make sure that the backpack has a comfortable hip belt. This belt should sit snugly around your hips and distribute the weight of the backpack evenly.
- Third, look for a backpack with a chest strap. This strap helps to keep the backpack from shifting and helps to distribute weight more evenly.
- Finally, make sure that the shoulder straps on the backpack are adjustable and padded. Padding is important for comfort, and adjustability ensures that the straps will fit properly.
By taking these factors into consideration, you can be sure to choose a backpack that will be comfortable and functional on your next hike.
Now that you’ve found the perfect backpack for yourself, let’s take it a step further and attempt to properly adjust it. We recommend that you fine-tune the fit of your new backpack to ensure maximum comfort. The shoulder harness should be in the same position it was when you bought it.
However, it’s a good idea to double-check before adjusting the rest of the straps and belts. Other adjustments will not be able to compensate if the shoulder harness is not properly positioned. When wearing a backpack, the length of the backrest and the position of the shoulder harness are the most important factors.
Step 2 – Add weight in your backpack
Add some weight to your backpack before you begin adjusting the straps and belts. Ideally, an amount comparable to what you will bring on your treks is recommended. We suggest a minimum of 10 kg.
It doesn’t matter what you put in your backpack at this point. Bottles of water, clothes, and shoes are all fine. If possible, try to distribute the load in accordance with the principles outlined in this article on how to pack a backpack. The closer you get to a weight similar to what you’ll be carrying on the trails, the easier it will be to properly adjust it.
Step 3 – Loosen all straps and belts
Now that you’ve got your backpack, it’s time to get it ready for your hike. The first thing you need to do is loosen all the straps and belts. This includes the hip belt, shoulder straps, load lifters and torso strap. You might be tempted to skip this step, but trust me, it’s important.
By loosening all the straps, you’ll be able to adjust the backpack more easily in the next steps. Plus, it’ll be more comfortable when you’re actually wearing it. So, take a few minutes now to loosen all the straps and belts on your backpack. Trust me, you’ll be glad you did.
Step 4 – Put the backpack on
When all your gear is packed perfectly in your backpack here’s how to get it on your back. Proper lifting will make it easier on your body and on your gear.
- With your pack sitting upright on the ground, use one hand to grab the pack’s tall boot.
- Using a wide stance with knees bent, slide the pack up your thigh and let it rest.
- Keeping a hold of the haul loop and steadying the pack, slip your other arm and shoulder through the first shoulder strap smoothly.
- Shift the pack onto your back and slip your arm through the second shoulder strap.
- Stay bent over and tighten up the hip belt.
- Next, stand upright and finish off your fit.
Step 5 – Adjust the hip belt
You are now ready to comfortably fix the backpack to your body. The hip belt is the first thing to be tightened. Make sure your belt “hugs” your upper hips, also known as the iliac crest. Check that the belt is not completely above or below the hips. The girdle’s top should be about 2 1/2 cm above the iliac crest.
Do not overtighten the belt at the hips. You should be able to move freely, but it should not irritate the skin around your hips. When done correctly, your hips will carry most of the weight of the pack. Moving should be easy, and the belt should be snug.
Step 6 – Adjust the shoulder straps
The shoulder straps can be tightened after the hip belt has been adjusted. Pull down on both strap ends until they feel tight and secure. The straps should be snugly wrapped around the shoulder.
There should be no gap between the shoulder straps and your shoulders or back if the backpack is the correct size for you and the shoulder harness is in the proper position. Furthermore, the load lifters’ anchor points must be level with the collarbones.
Step 7 – Adjust the load lifters
The load lifters are the short straps that are attached to the top of the shoulder straps. They attach to a point in the backpack just above the shoulder. When these straps are tightened, they should be at a 45-degree angle to the back. If the angle is less than 30 degrees or greater than 60 degrees, the backpack is not for you.
Take care not to overwork the load lifters. This can put an extra strain on the shoulder joints, causing discomfort along the way.
At this point, the shoulders should not bear any weight. If you feel the backpack pulling on your shoulders, the hip belt is not tight enough.
Step 8 – Adjust the sternum strap
The next step is to fasten the strap on the torso. Once fastened, this small strap crosses the chest and offers more safety and balance on the course. It keeps the shoulder straps in place and aids in load distribution.
Step 9 – Tighten the compression straps
Once the shoulder straps and belt have been adjusted, remove your bag, and tighten all the compression straps with which it is equipped. Do not overtighten so as not to damage the material inside the bag. By eliminating spaces, you will stabilize your equipment and limit swings.
If your bag has a flap pocket, pull it tight. Also check that all pockets are closed. If you hang any of your gear, like your walking sticks or a water bottle, on the outside of your bag, again make sure they don’t move. Any sloshing is very unpleasant during a hike.
How to adjust the backpack on the trail?
In addition to adjusting the backpack and adjusting the straps in advance, you will need to keep adjusting everything during the trek. A heavy backpack will eventually be heavy, no matter how perfect your packing methods and adjustment skills are.
During the hike, you will need to modify the straps and belts to keep everything comfortable. After a few kilometres, you will feel the discomfort and will discover pressure points that were not there when you adjusted your backpack at home.
Loosen the belt a little, tighten the shoulder straps or play with other adjustments. Each body is different, so you’ll need to figure out for yourself what works best for you. Remember that the backpack must remain as stable as possible, must avoid rocking and must be snug against your body.
Whenever you stop for a break, be sure to take off your backpack. Let your back and body rest. While hiking, try to be aware of your body position. As a general rule, leaning forward a little while hiking helps balance the load better.
If you are in the mountains, it may help you to “play” with the weight and bring it closer to your pelvis (downhill) or closer to your shoulders (uphill) (uphill). This could make travelling along these routes more convenient.
We also recommend that you try your backpack on in the shop to avoid surprises while hiking. Ask to fill the backpack with a weight similar to what you will load and adjust it as best as possible. Then keep the backpack on as long as possible while you move in order to understand if it is right for you or not. Only in this way will you leave peacefully with your backpack on your first adventure.
What not to do while wearing a backpack
Anybody who has ever carried a backpack knows that it can be a real pain if it’s not packed or worn properly. Here are some tips on what not to do when wearing a backpack.
- First, never wear the backpack using a single strap. This will cause the backpack to pull to one side and can lead to muscle strain and posture problems.
- Second, don’t sling the backpack low on the back. This also causes muscle strain and makes it difficult to reach into the backpack.
- Third, make sure that the straps are adjusted so that the backpack fits snugly against the body. Loose straps can flap around and be annoying, but more importantly, they can cause the backpack to shift and throw off your balance.
- Fourth, don’t overload the backpack. It should never weigh more than 10% of your body weight.
- Finally, don’t wear your backpack for too long. If possible, take a break every few hours to remove the backpack and give your body a rest.
By following these simple tips, you can avoid common mistakes and make sure that wearing a backpack is a comfortable and convenient experience.
Conclusion
Wearing a backpack improperly can lead to back and shoulder pain, as well as postural problems. To avoid these issues, it is important to choose a backpack that is the right size and to wear it correctly. When putting on a backpack, stand up straight and loosen all the straps.
Then, put the backpack on with the straps over both shoulders. Adjust the straps so that the backpack sits snugly against your back and does not sag down. The straps should also be tight enough that the pack does not bounce around while you are walking.
By following these simple tips, you can help ensure that your backpack is worn properly and does not cause any discomfort or problems.
Frequently asked questions
1. How to properly wear a heavy backpack?
When wearing a backpack, it is important to make sure that the straps are tight enough so that the backpack doesn’t sag down your back. The straps should also be positioned so that they distribute the weight evenly across your shoulders. Also, be sure to take breaks often when wearing a heavy backpack, and to adjust the straps periodically to ensure a comfortable fit.
2. Where should a backpack sit on your hips?
Ideally, your backpack should sit two inches below your natural waistline. This will help to distribute the weight of the pack evenly across your hips and back. If it’s too low or too high, the weight of the pack will be unevenly distributed and can cause pain and discomfort.
3. Does carrying a heavy backpack build muscle?
Carrying a heavy backpack can build muscle, but it depends on how often you do it and how much weight your backpack is. If you only carry your backpack occasionally, you probably won’t see much of a change in your muscle mass. However, if you make a habit of carrying a heavy backpack every day, you may start to see some definition in your muscles, especially if your backpack is filled with heavier items.
4. How to relieve back pain from backpack?
There are a few things you can do to relieve back pain from backpack. First, make sure that the backpack is not too heavy. Second, distribute the weight of the backpack evenly between the shoulders and hips. Third, wear the backpack so that it rests mid-back and does not hang down low on the back. Finally, take breaks often and avoid carrying the backpack for long periods of time. If the back pain persists, consult a doctor.
5. How to loosen backpack straps?
When adjusting your backpack straps, it is important to loosen them gradually so that you don’t put too much strain on the fabric. Start by loosening the top strap first, then move down to the middle and bottom straps. If your backpack has side compression straps, loosen those as well. Once all the straps are loose, you can then adjust them to your desired fit. When you’re finished, be sure to tighten all the straps back up so that your backpack doesn’t shift while you’re wearing it.